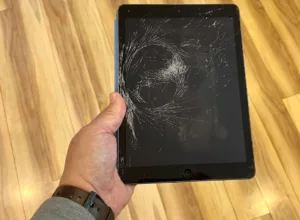
The majority of Mac customers have at some point looked into MacBook data recovery, despite the fact that Apple produces the most dependable computers in the world (according to consumer surveys), only to find solutions that don’t work and difficult-to-follow tutorials. We want to cover every aspect of MacBook Pro data recovery in this post so that Mac users from various backgrounds can easily recover all of their data.
Method 1: Restart your MacBook while in recovery
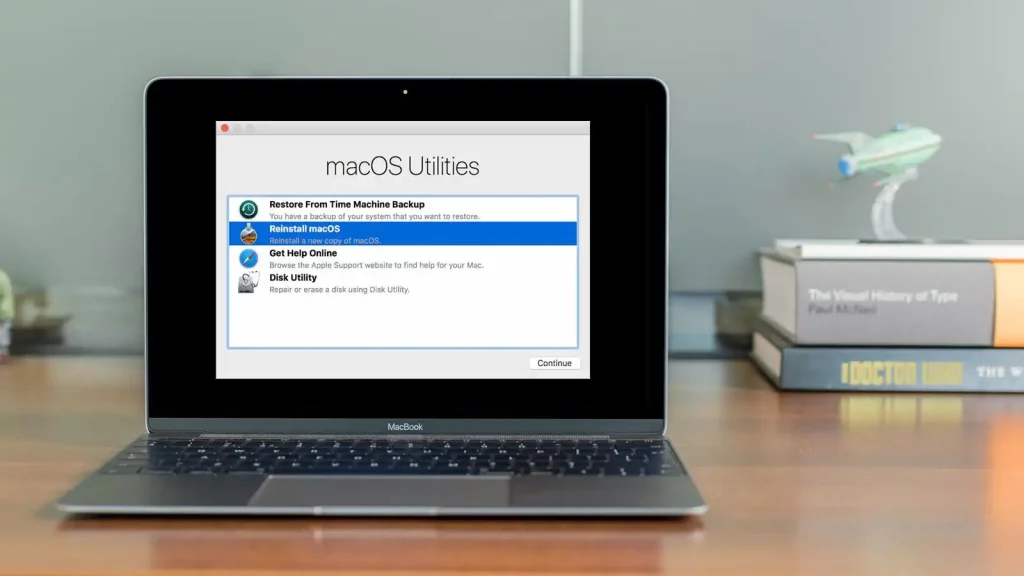
Time Machine, Apple’s backup programme, and other helpful recovery tools are easily accessible through Recovery Mode in macOS. You can use Time Machine to go across time and retrieve files that are no longer present on your MacBook computer, provided that you had turned it on before losing your data.
Restart your MacBook while pressing the Command + R keys simultaneously until you see the Apple logo or a spinning globe. Users of M1 Macs should adhere to this directive.
Click Continue after selecting the option to restore data from a Time Machine backup.
After reading the instructions for restoring from a Time Machine backup, click Continue.
Click Continue after selecting the disc that houses your Time Machine backup.
Click Continue to start the restore after choosing the Time Machine backup you want to use.
2. Data recovery using disc images
Few people have noted it, but creating a disc image in macOS Recovery Mode is a simple approach to restoring your data from the dead MacBook. On Intel Macs, you can back up the folders containing your vital data and even the APFS container, despite the fact that you cannot create disc images of the APFS volume. Disk image creation procedures for macOS Recovery mode:
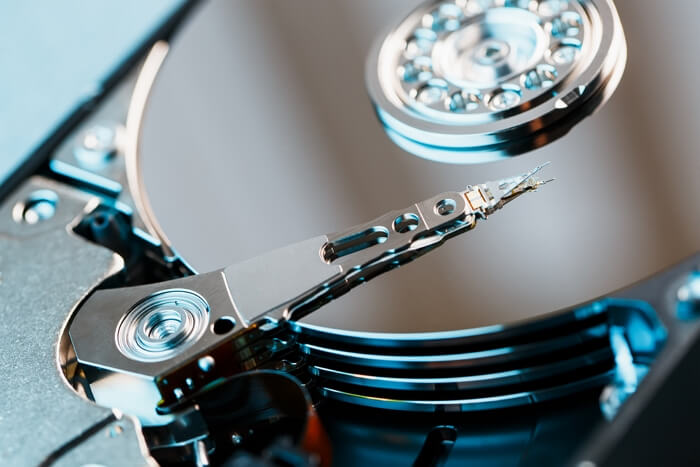
Connect the external hard drive to your Mac.
Start up macOS in recovery mode next.
Intel Mac: To turn off the computer, press and hold Command + R while holding down the power button.
M1 Mac: Power down the computer, hold down the power button until the “Loading Startup choices” screen appears, and then select Options > Continue.
Select Continue from Disk Utility.
From the top menu bar, choose File > New Image > Image from Folder.
Click Open after selecting the folder containing the data you wish to restore.
Give the disc image a name and save it to an external drive.
From the Encryption drop-down menu, decide if you wish to encrypt the image.
From the Format drop-down selection, select Read/Write.
Select Done > Save.
Once the disc image has been produced, you may connect the external disc to a Mac that is operating normally and double-click the disc icon that has been mounted there to see what’s on it. If the disc image isn’t on your desktop, open Disk Utility and manually mount it.
Get the latest technology news, reviews, and opinions on tech products right into your inbox
3. Using a Bootable Mac Data Recovery Program to Recover Data
You may already be aware that there are a variety of data recovery software programmes available for Mac computers, all of which make the same recovery promise. What if, though, you are unable to utilise them because your MacBook Pro won’t start up correctly and you don’t have a backup from which you could restore it?
If so, you should use bootable Mac data recovery software, like Disk Drill, to recover your data. Disk Drill enables you to build a USB boot drive for recovery on any functional Mac, allowing you to recover your data without booting into macOS.
4. Utilize Mac Terminal to recover data
Using Terminal commands to copy files from the wrecked Mac to another storage device is a great approach to recover data from a Mac that won’t start if you are familiar using commands. Prepare an external drive that has been formatted for Mac use, then perform the following steps:
Connect your Mac to the external storage device.
Start up macOS in recovery mode next. (Follow step 3 if your drive is FileVault encrypted. If not, go straight to step 9).
Select Terminal under Utilities.
Copy the next command, then press Enter.
Find the area where it says “FileVault: Yes” (Locked).
Write down the disc number next to the “APFS Volume Disk” field (for example, disk1s7).
Enter the following command after replacing the disc identification with the one you already stored. (/dev/identifier) (diskutil apfs unlockVolume)
Type in your FileVault password then hit Enter.
To list every volume on your Mac, use this command. /Volumes/ (ls)
Type this command to transfer files from the Jenny user folder to the backup disc external drive
If you want to read informative blogs like this, visit our website, “ERIP Blogs“. Also, do visit our official handle, “ERIP“, where we provide home repair services for your home appliances and personal gadgets. You can easily schedule a repair by visiting our website “ERIP“, according to your convenience, and we will send an expert to your home to repair it.